Port forwarding allows exposing a port or ports of a cloud desktop to the local network or the internet. It is commonly used with Remote Desktop Protocol.
This feature can be used for both DaDesktop Course machines (private server required), DaDesktop For Work or Standalone machines. Please note, the interface may appear slightly differently for the different types of machines.
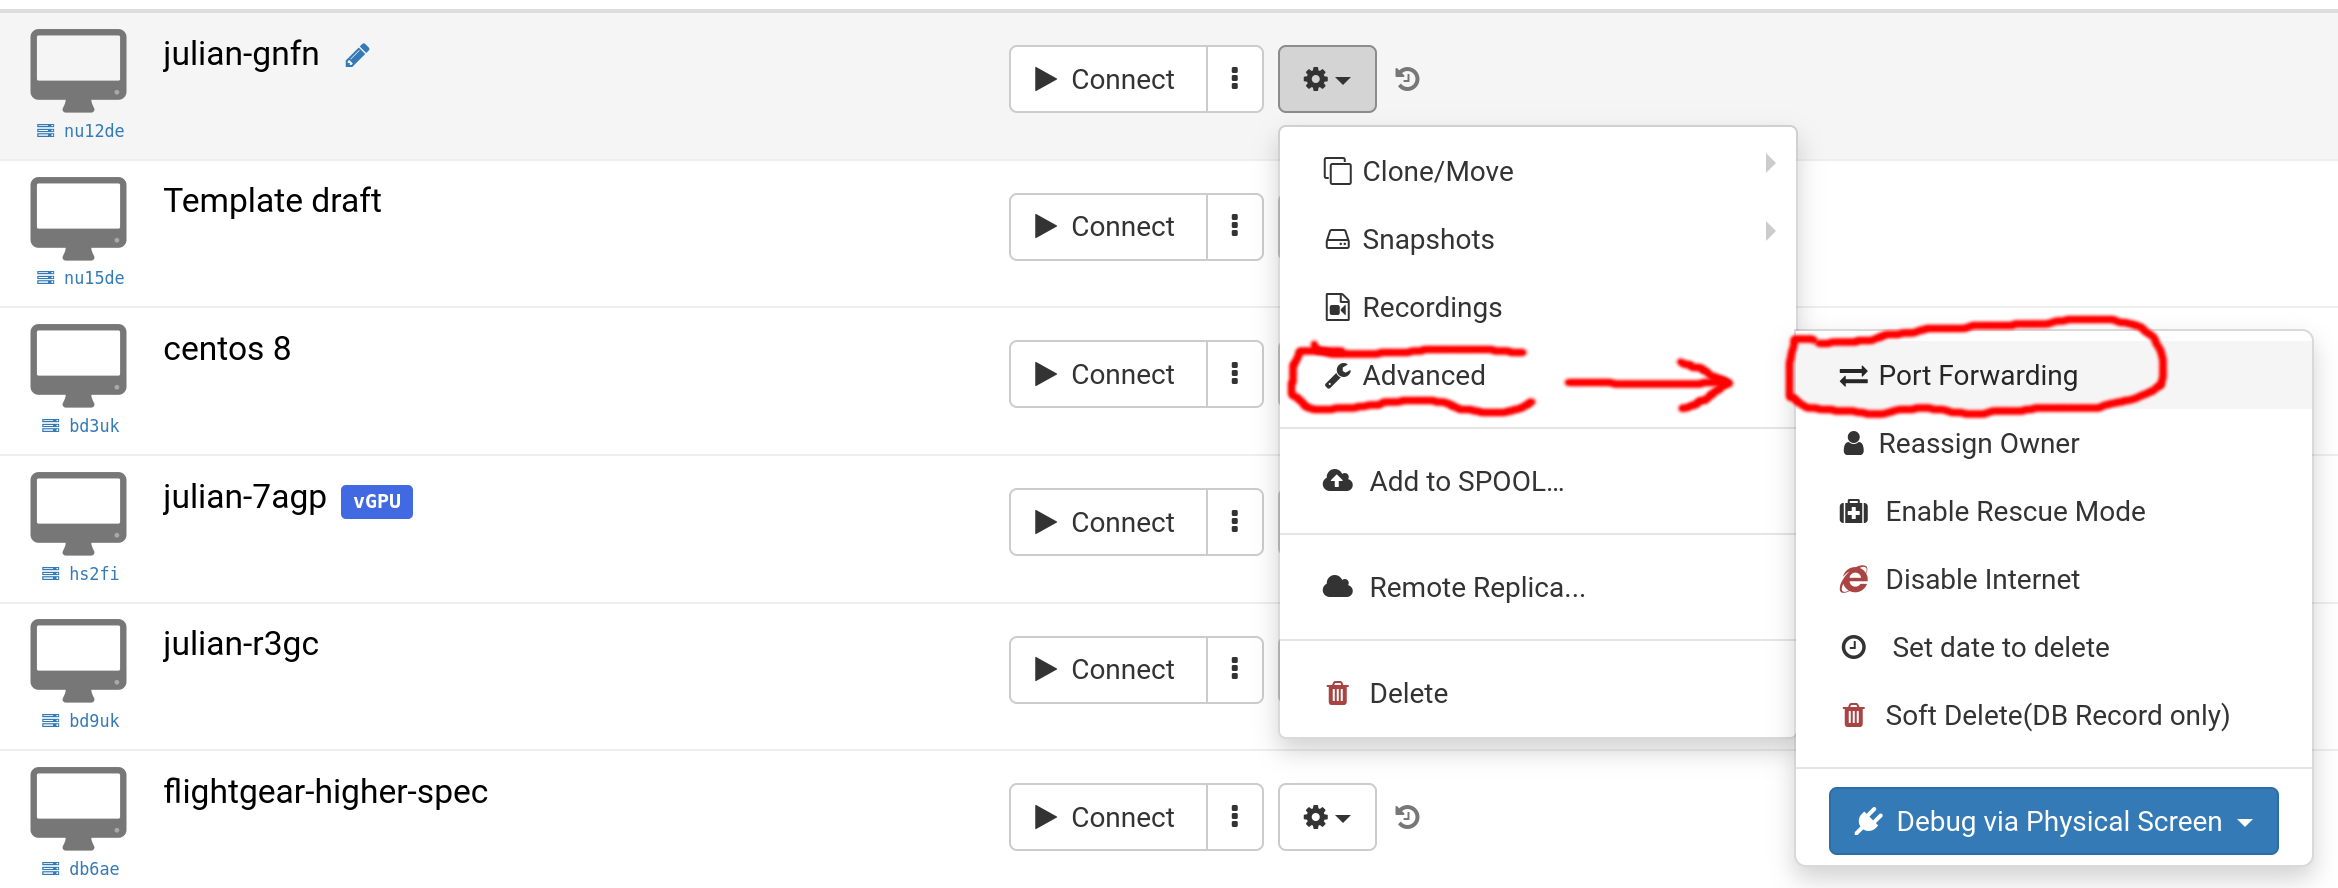
Select 'Advanced' and 'Port Forwarding',
Port forwarding can be made using automatic allocation or manual allocation. Automatic allocation uses the next available port on the server. Generally, auto allocation is preferred to simplify matters, but manual allocation allows the choice of each external port if required from port 10000-65500. If manual port forwards have been previously added, these are kept and can be edited as required.
Auto Allocation
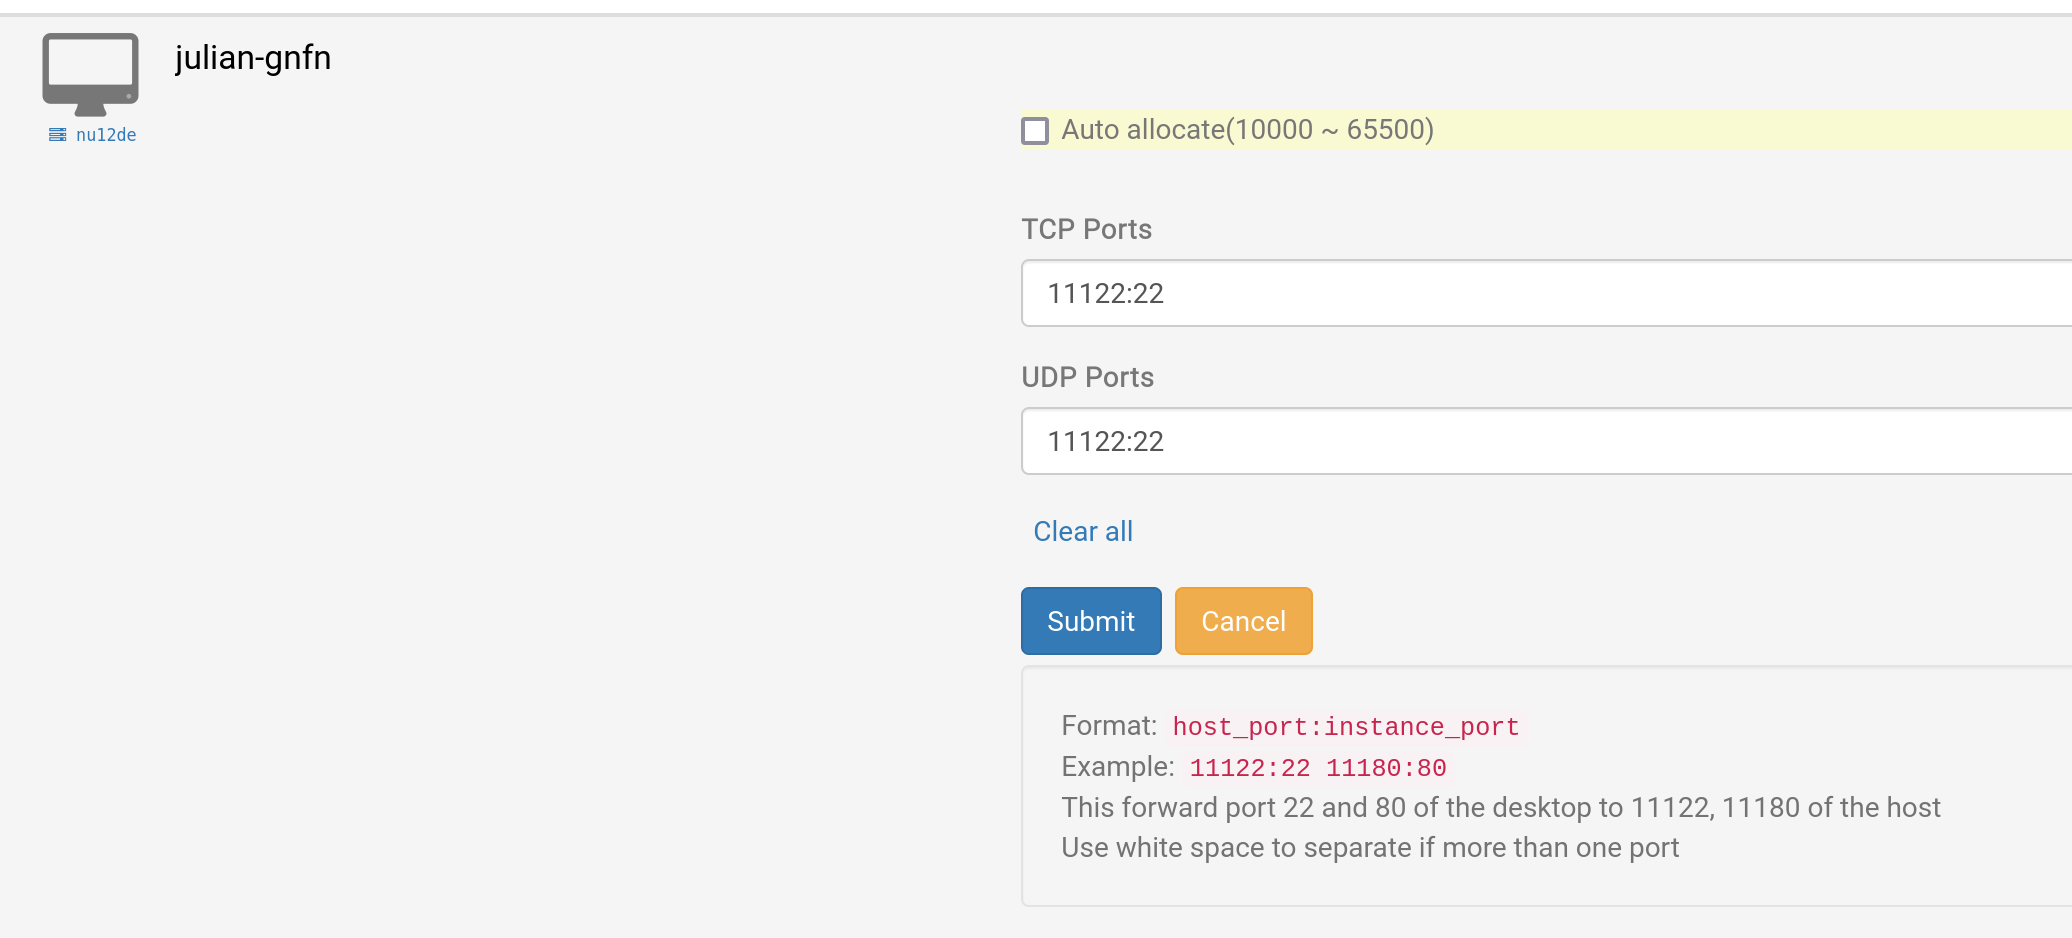
This image shows auto allocation, with a previously added manual port forward using port 11122 on the host and port 22 on the VM.

Manual Allocation
This example shows use of port 11122 for both TCP and UDP port forwarding to cloud desktop VM port 22 for SSH. UDP and TCP ports can be chosen differently if required.
Example for Windows RDP
This example uses the original manual allocation method, but auto allocation can also of course be used.
1. Find your DaDesktop desktop, click "Port forwarding", set your TCP ports (for remote connection), this is your external port number and 3389 (For example 66666:3389), please remember your port number, if this is forgotten, you can click Port forwarding and click again.
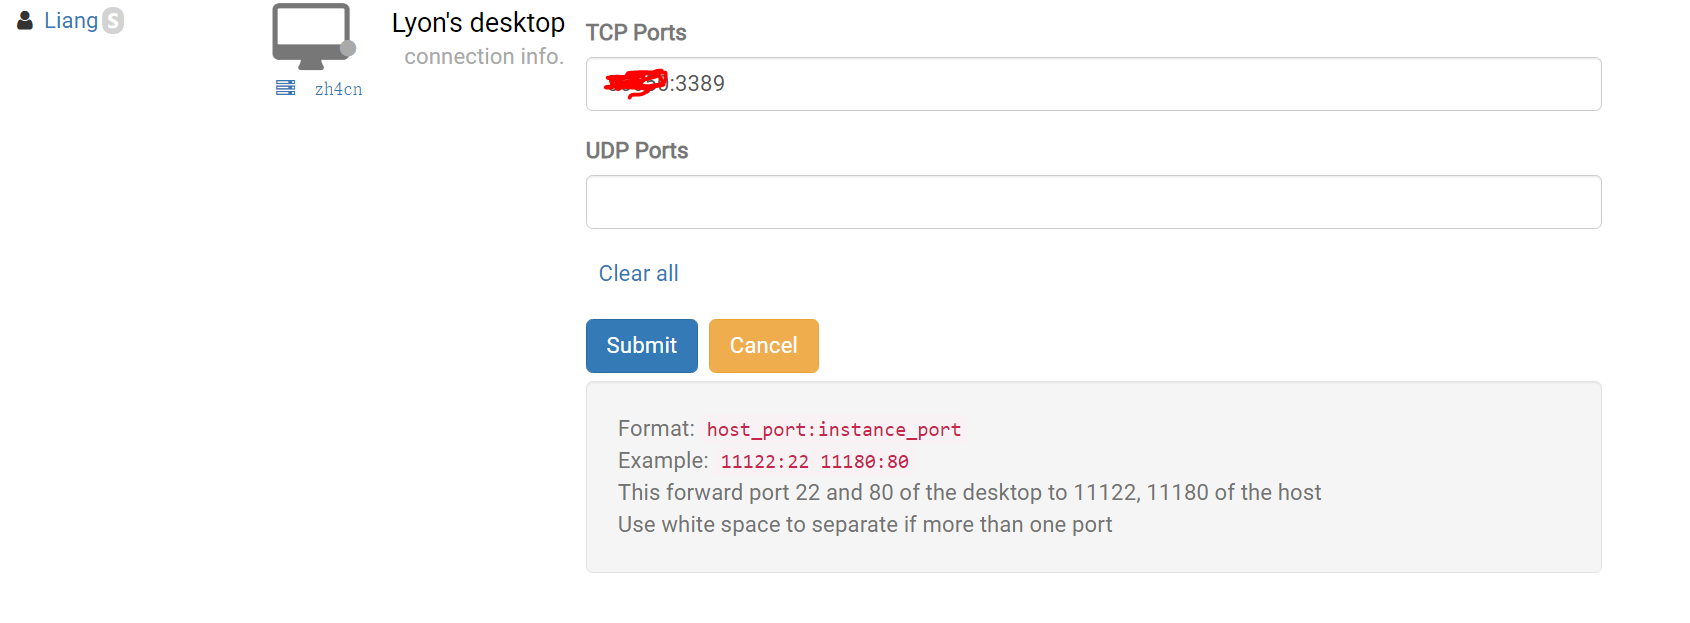
2. Submit and set up a password inside your Windows DD machine, then click "Enable Remote Desktop"
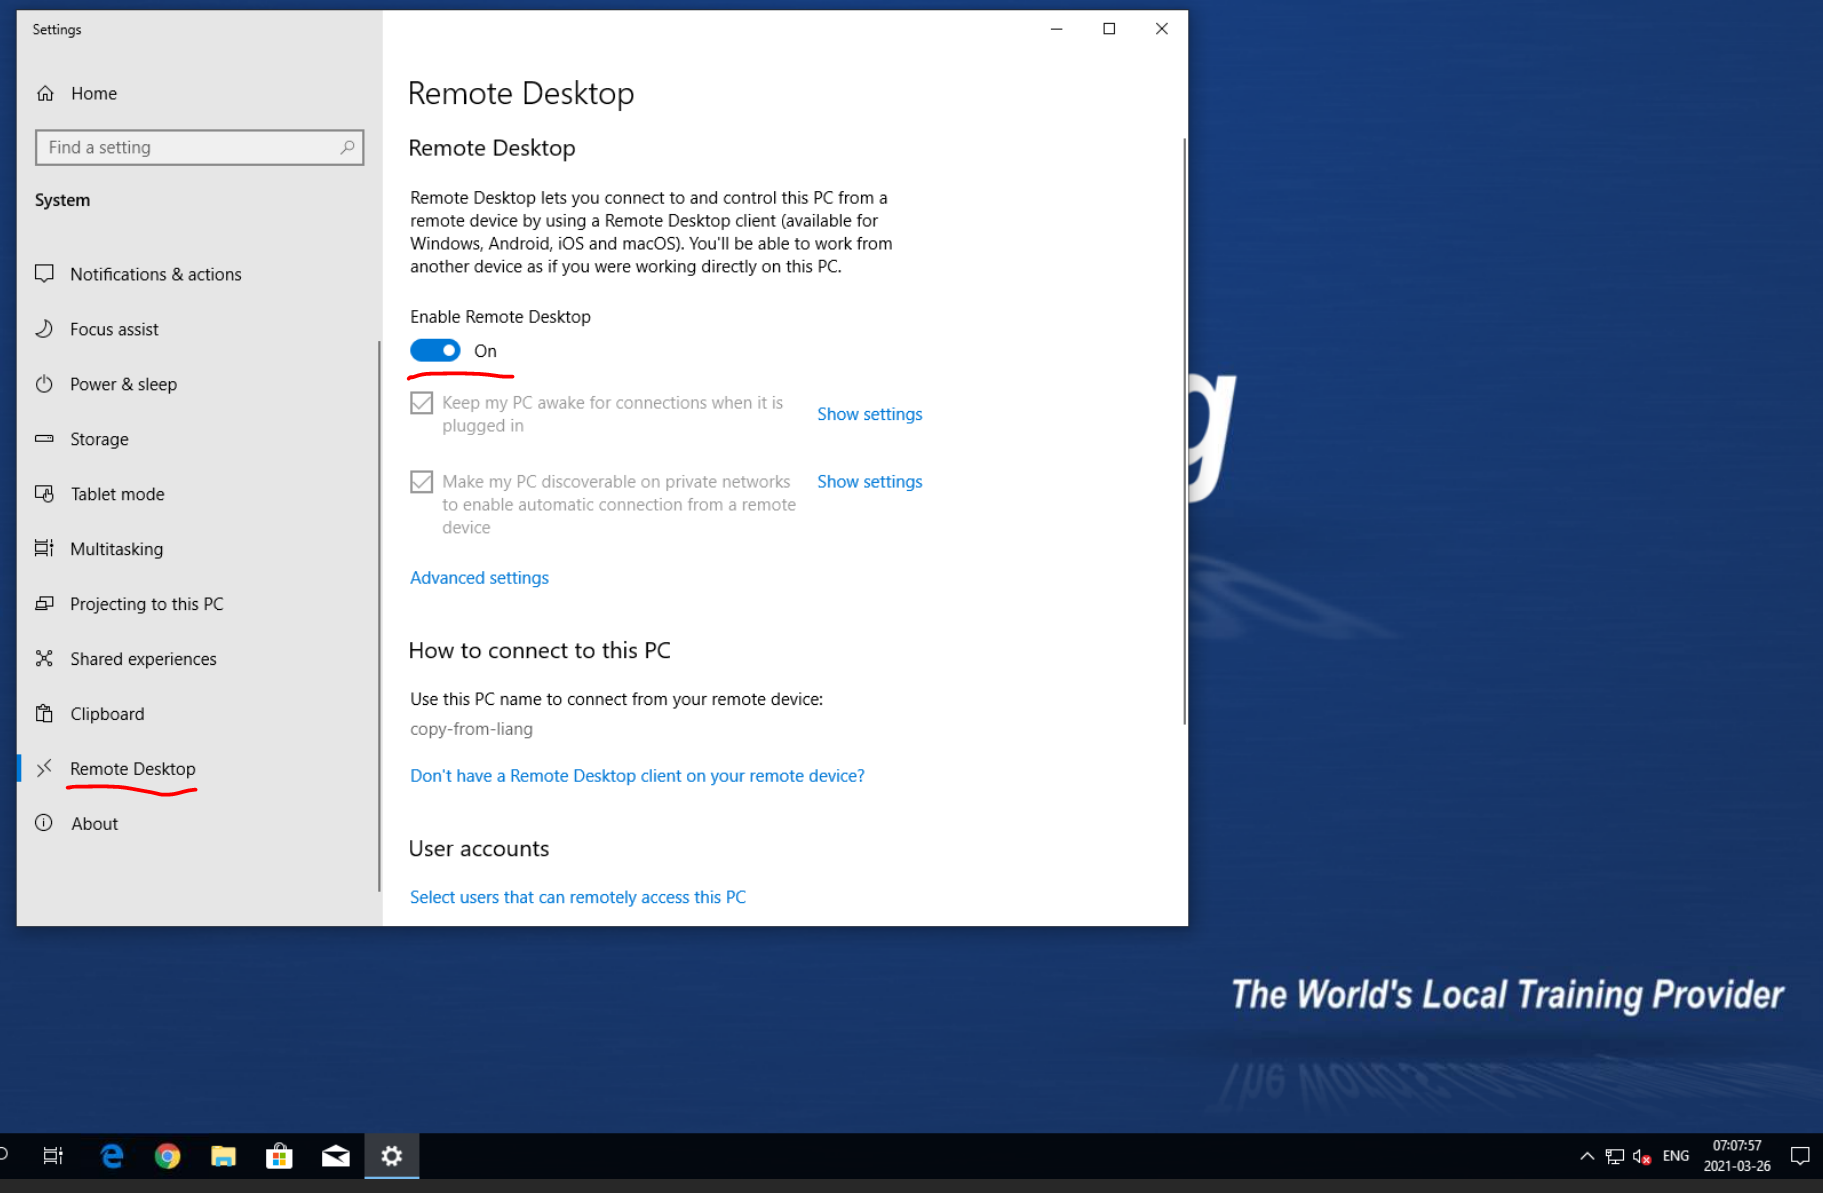
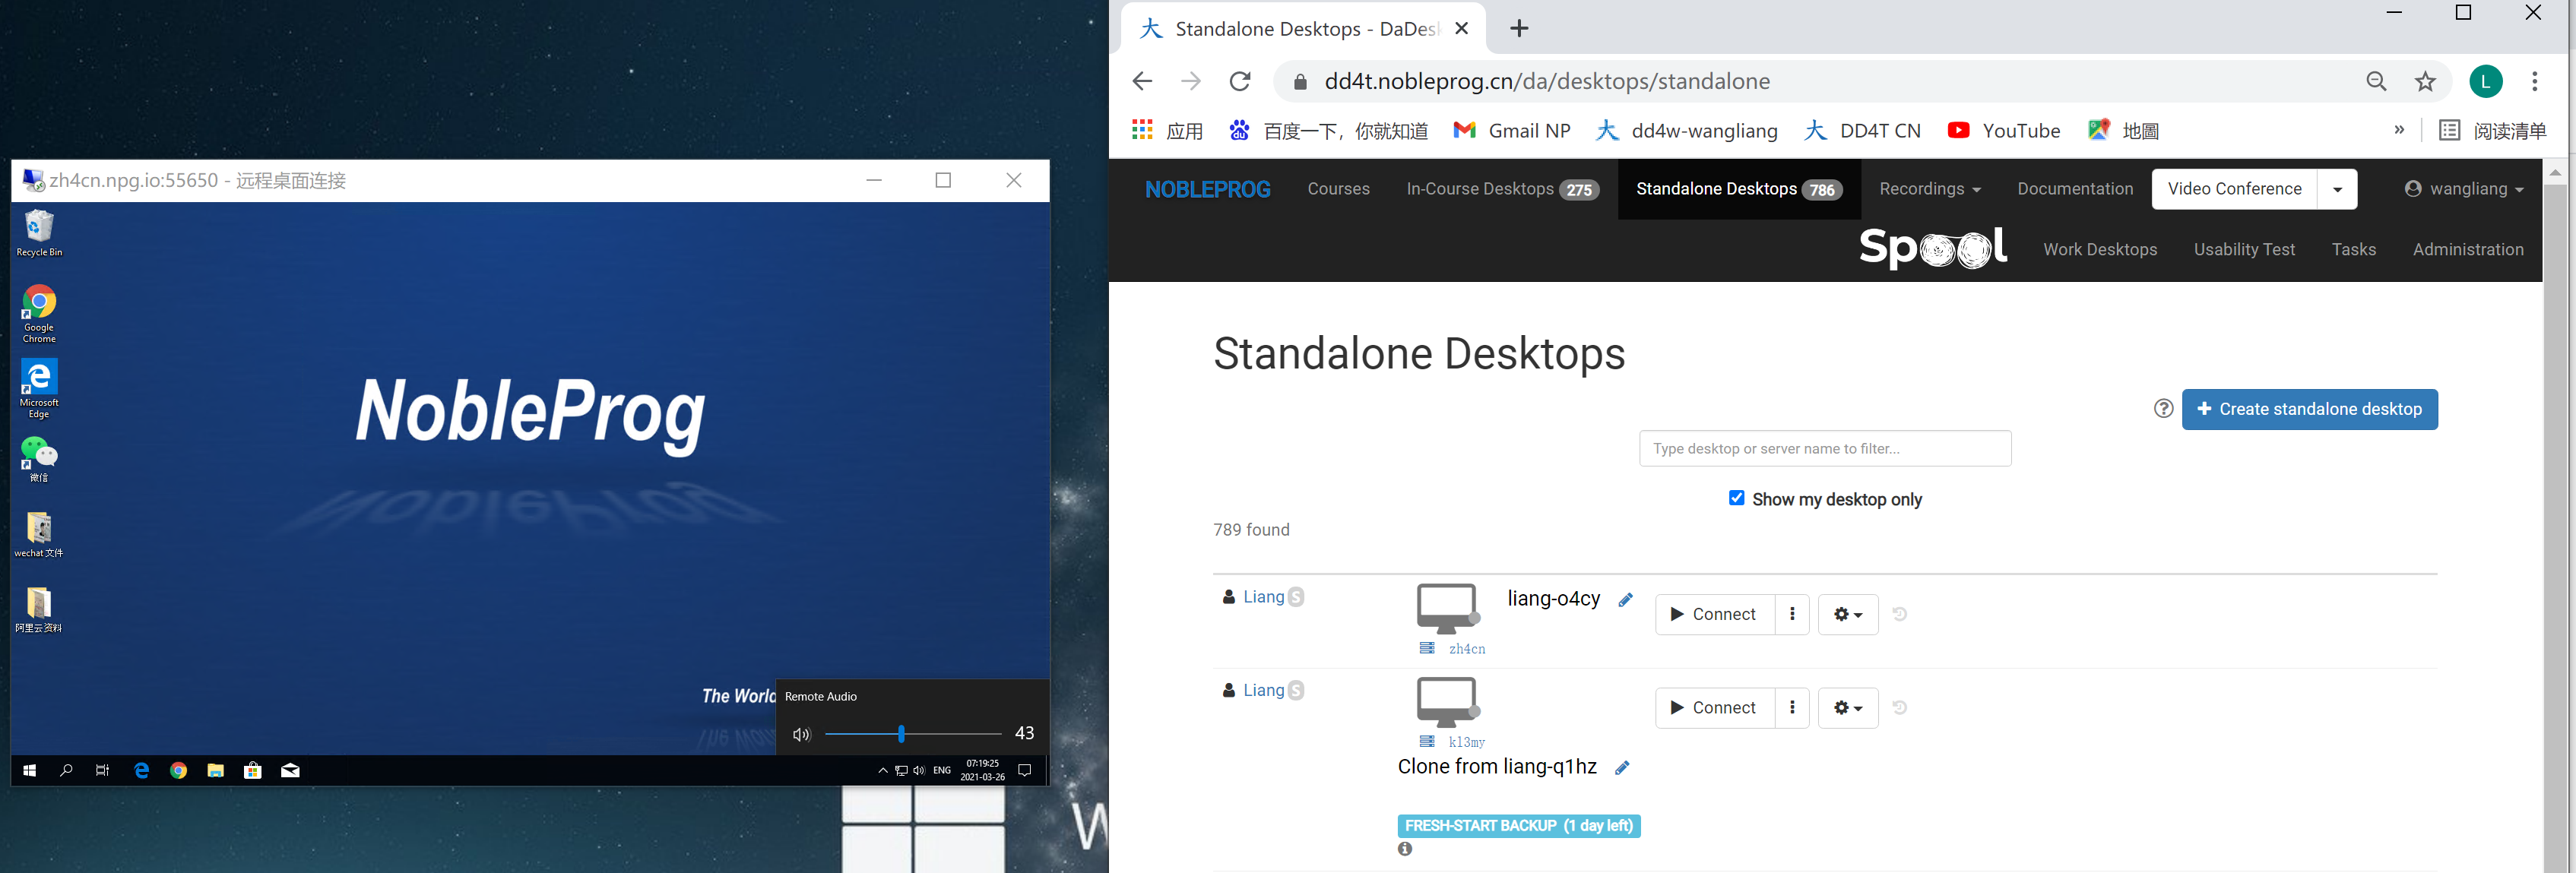
3. Back to your Windows devices, use Remote Desktop and insert Server name + TCP ports. (Here I use zh4cn, so is zh4cn.npg.io:xxxxx), in 'Show options' you can also choose the "resolution" of your remote desktop window, for example.
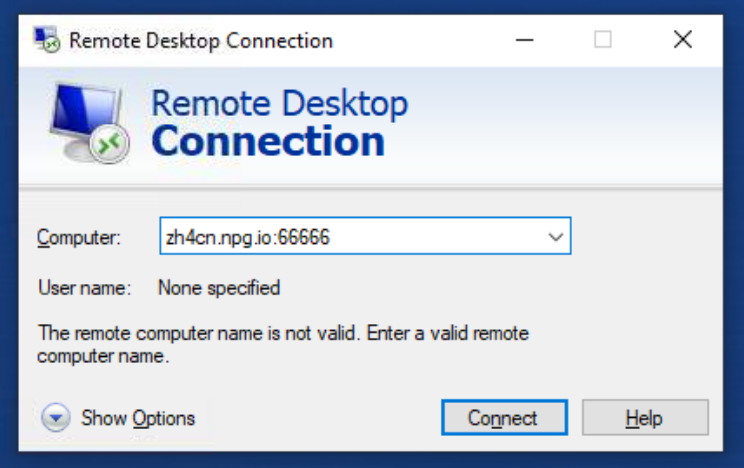
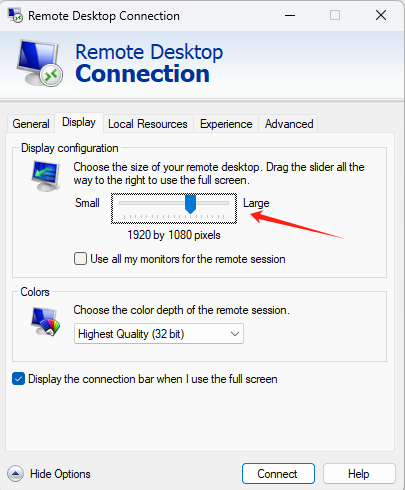
3.1 For login your remote desktop of DaDesktop, by defualt
"You should reset your username and password in the machine first."
Then connect the remote desktop.
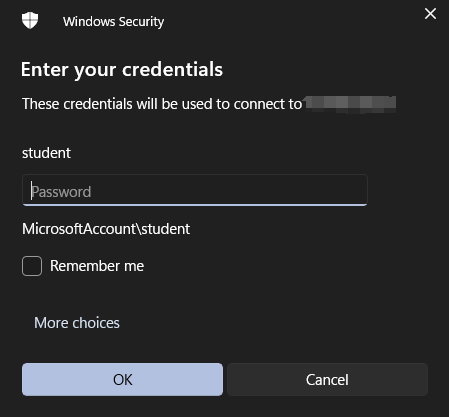
4. Then you can have remote desktop which are using DD template and sound card from your own device, you can also copy paste or output document easily. (left hand side small window: DD remote desktop with audio)
